
This hoop embroidery sewing project is another boredom buster during the school holidays. The kids will love how easy and enjoyable it is. Moreover, it doesn’t require expensive and hard to find materials.
Begin by gathering your supplies:
- small embroidery hoops
- small piece of fabric to fit the embroidery hoop. A little extra fabric is ideal as it can always be trimmed
- cotton or knitting yarn
- big needles are ideal so that yarn can fit in the hole
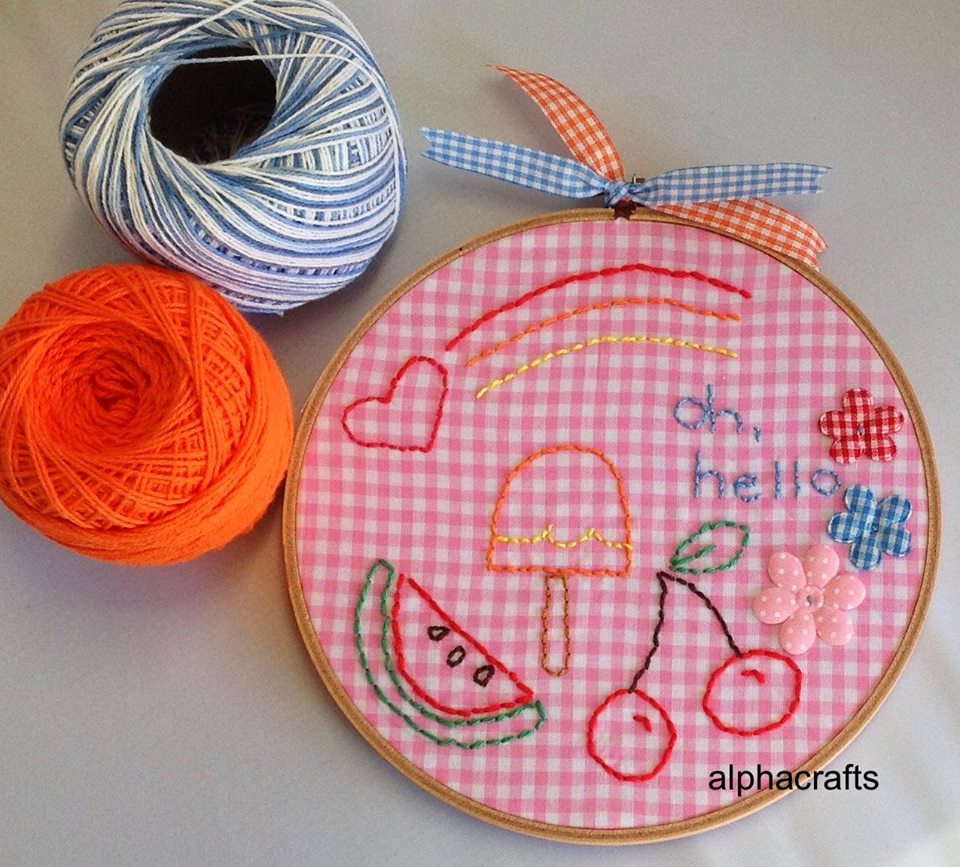
- sequins, flowers, buttons, ribbon etc as finishing touches
Here’s how:
- Trace your pattern or design on the fabric. You can do this at the back but bear in mind that it will be the reverse image when you embroider it, especially for letters and numbers.
- Insert the fabric in the embroidery hoop. Tighten the knob to keep the fabric tight and snug in place. It should feel like a drum when you tap on it.
- Start stitching over your traced images. If you’re a beginner, running stitch or back stitch is the way to go. It’s just an in and out motion with the needle and thread.
- To finish, add embellishments
What designs do you have in mind? Will you be making a few to give to friends? I’m curious to know what you think of this hoop embroidery sewing project so let me know after you’ve made one.
Would you like to make this in class with the kids? Let me know so we can organise a parent/child event for you.
Are you looking for other projects other that sewing? Check out the events that are currently available and book in. Bring along your friends too so you can share the experience.