
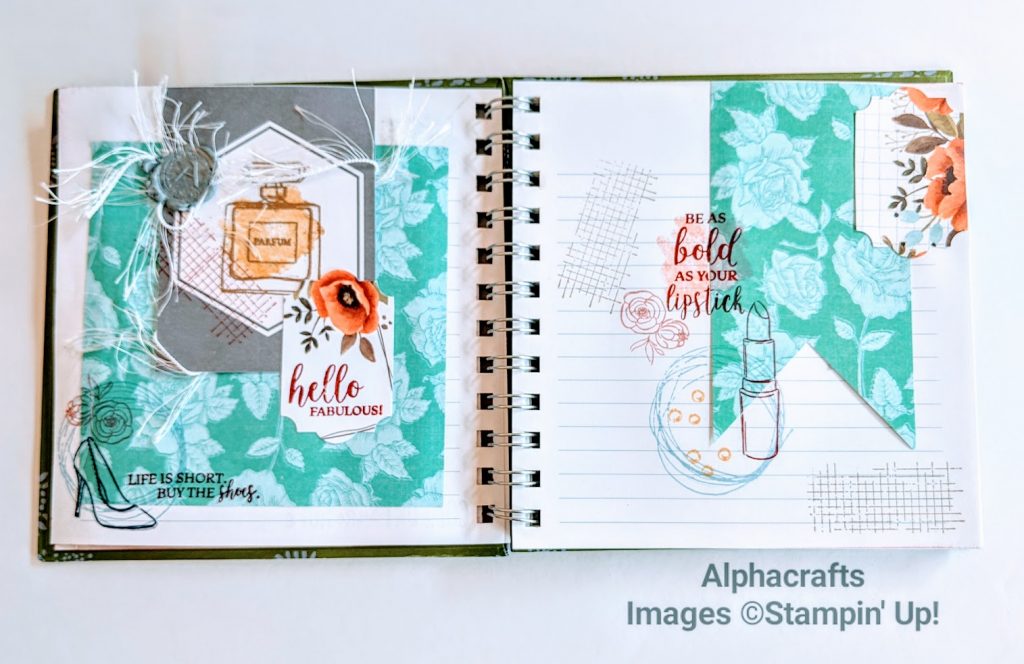
I’m using the Dressed To Impress stamp set for today’s journal inspiration. Do you like to use your stamp sets too beyond card making? I love finding fun ways to incorporate them in my journals and scrapbook pages.
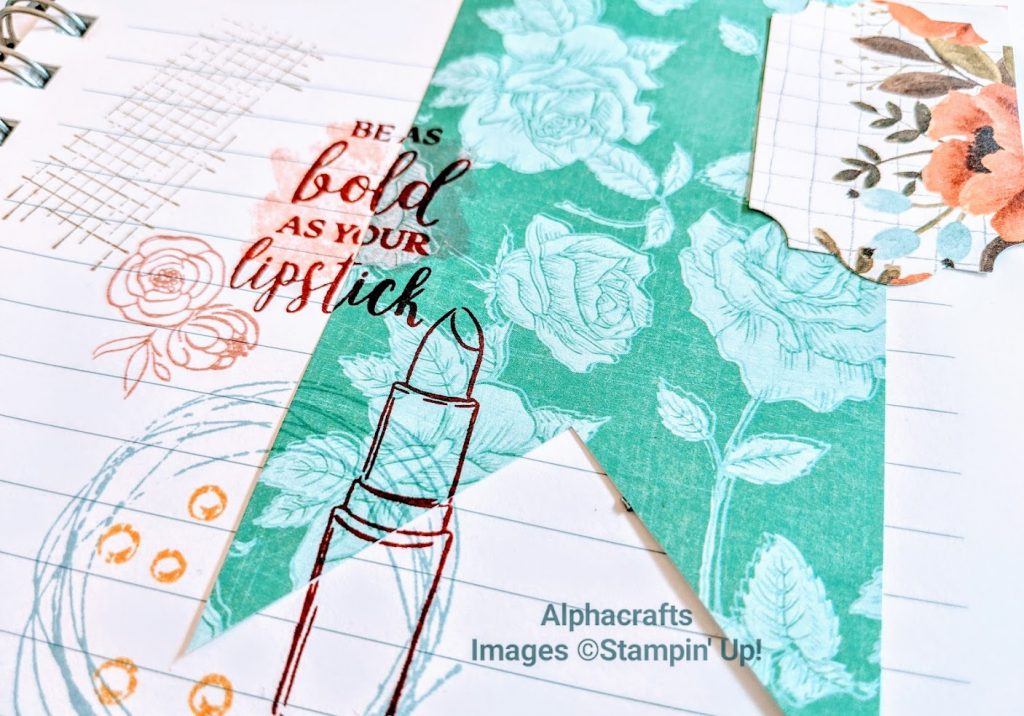
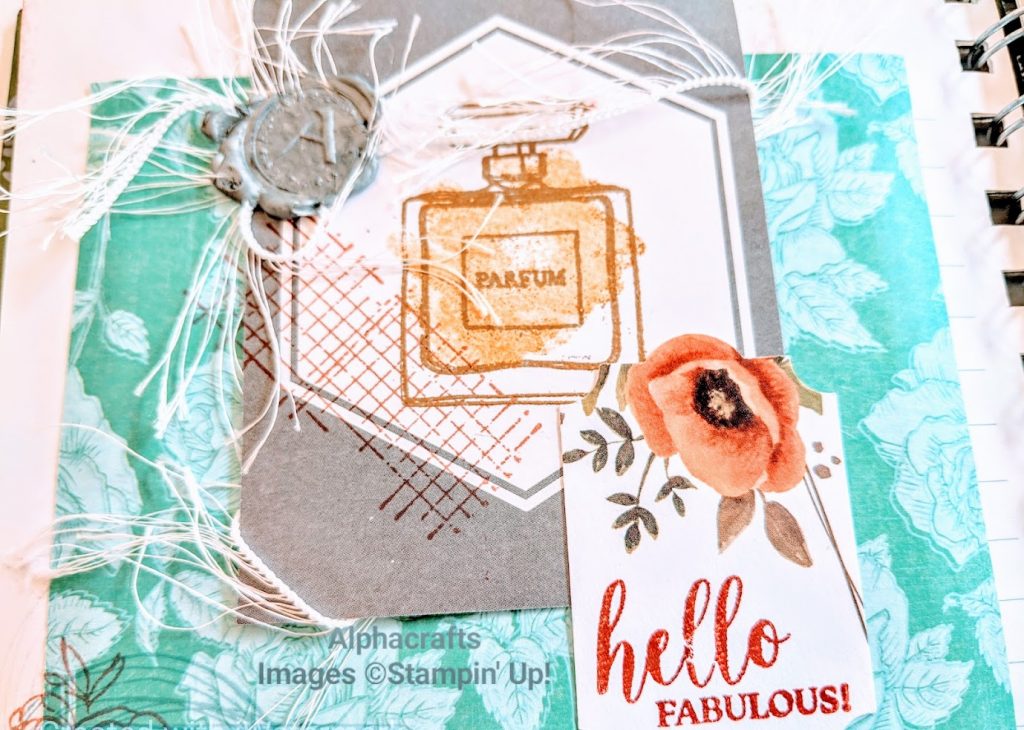
The images in this stamp set reminds me of my mum’s dressing table. When I was little, I liked sitting beside her to watch her put on her makeup. She was so elaborate and careful in her ways. She would always apply her lipstick and perfume last.
Here’s how I made my journal spread:
- Start with 2 pieces of Designer Series Paper (DSP). One square and one cut into a banner. Stick them on the pages.
- Punch a couple of printed papers and add that you your pages.
- Stamp the shoe, lipstick and perfume.
- Add texture with frilly yarn and a wax seal if you have any.
Here’s a checklist to help you:
- Dressed To Impress Stamp Set
- Everyday Label Punch
- Cherry Cobbler Classic Stampin’ Pad
- So Saffron Classic Stampin’ Pad
- Rose Rococo Classic Stampin’ Pad
- Balmy Blue Classic Stampin’ Pad
- Crumb Cake Classic Stampin’ Pad
- Misty Moonlight Classic Stampin’ Pad
I hope that you liked this journal inspiration and that you’ll give it a go.
Would you like to learn how to make journal spreads like this one? Let me know so we can organise a class for you. Bring along your friends too so you can share the experience.
Are you also looking for other fun papercraft projects? Check out my events page and book in. There’s always something new to learn.