
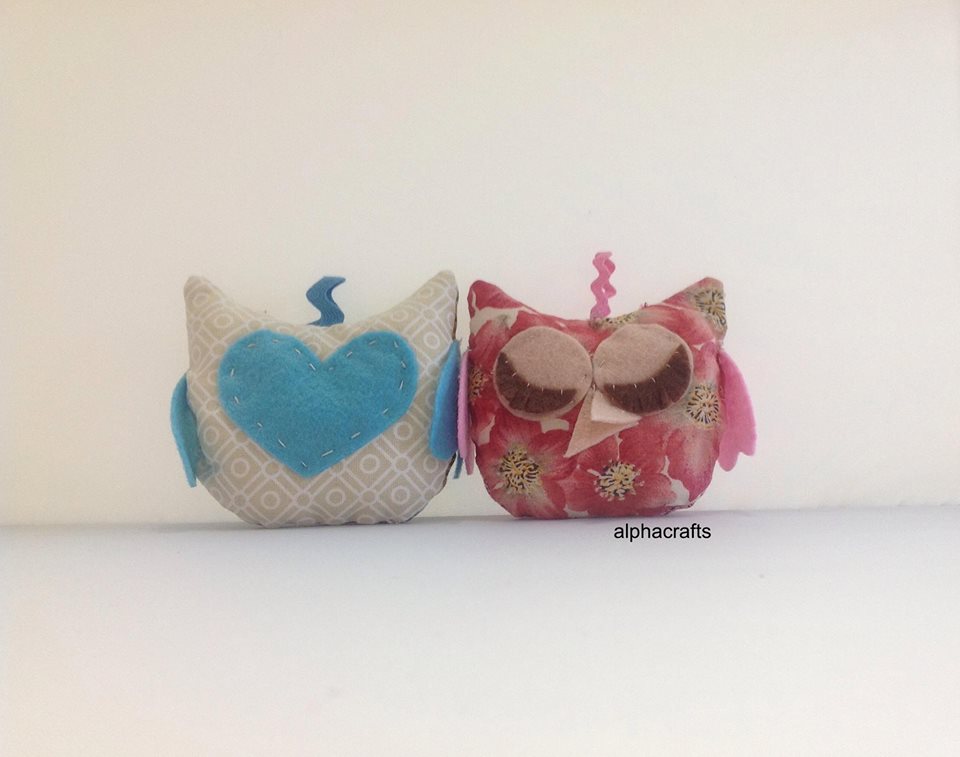
 This baby owl sewing project is adorable and so easy. Here is a project for the kids (and for yourself too) to make during the school holidays. Hang them anywhere – as a keychain, bag accessory or attach it to a long necklace. Kids can make it for themselves, for mum or a friend. Also, it’s a project that doesn’t require a lot of materials and effort which makes it a lot of fun.
Here’s how:
- Gather your materials (scrap fabric, felt, needle, thread, scissors, pencil and toy stuffing)
- Trace an owl shape on 2 pieces of fabric. Use the ‘wrong side’ of the fabric when you do this so that your pencil marks don’t show. Cut out the shapes.
- Sew the 2 pieces of fabric together, again on the wrong side of fabric but leave a tiny opening at the bottom. Turn the fabric over and fill with toy stuffing. Sew to shut the opening.
- Trace and cut 2 circles for eyes and eyelashes and then 2 wings and 2 triangle shapes for the beak.
- Sew the cut-out shapes to form the face of the owl.
- To finish, sew a ribbon or key chain attachment so you can hang your baby owl.
If you like, you can add dried lavender to the toy stuffing to make it smell nice.
What will you be using the owl for? Will you be making a few to give as gifts? I’m curious to know so please let me know what you think of this baby owl sewing project.
I hope that you liked this school holiday inspiration and that you’ll give this project a go.
Would you like to make this in class? Please let me know so we can organise one for you. Bring along your friends too so you can share the experience.
Are you looking for other crafty things to do other than sewing? Check out these events and book in!