
Let’s make slimline cards. This is an interesting size for a card because it’s unusually long and very slim. It will fit a DL business envelope but you can easily make your own.
Here’s how:
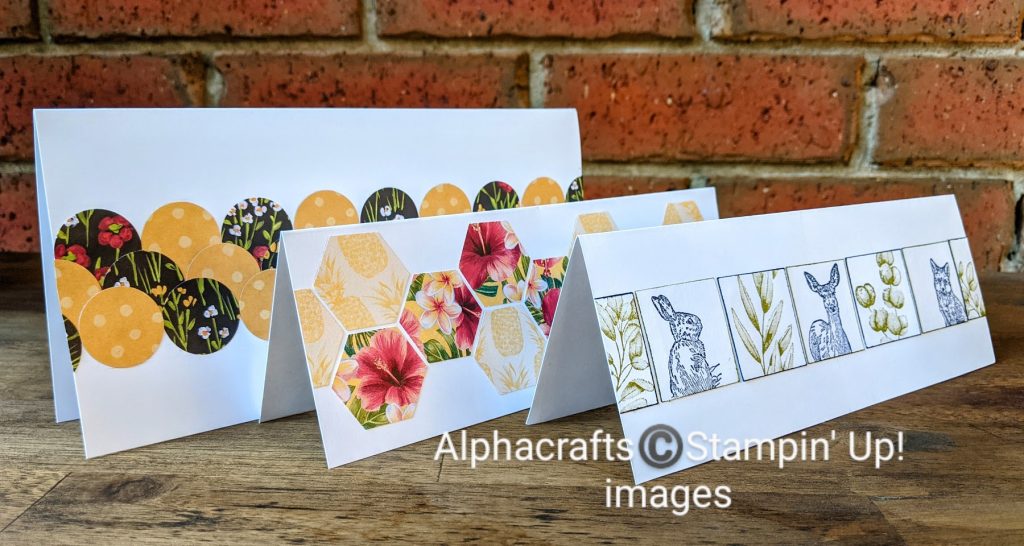
- Let’s get the card base sorted first. Use a piece of standard size card base (A4 cut in half). You need your card base in a horizontal orientation. Score your card base at a little under the 3 inch mark. You will end up with a slimline card base that’s 8-1/4 x 3 inches
- Next, get some Designer Series Paper (DSP), preferably double-sided and use a punch to punch out shapes. Alternatively, you can punch out square tiles and then stamp images on them
- Lastly, arrange your punched out shapes and glue them on your card base. Make patterns like you would when you’re tiling the wall or floor. The trick to lining them up equally is to always start at the centre. Once you’ve arranged your tiles equally, then you can start sticking them down one by one
It’s easy and doesn’t take too long. It will be fun to make matching envelopes for your cards too because slimline cards are longer than your ordinary cards and they will not fit in the standard C6 envelopes.
Here are suggested products to help you make slimline cards at home:
- Nature’s Beauty
- Forever Fern
- Basic White Card Stock
- Night of Navy Classic Stampin’ Pad
- Old Olive Classic Stampin’ Pad
I hope that you enjoyed this slimline card technique and that you’ll give it a go.
Would you like to make slimline cards in class? Let me know so we can organise one for you. Bring along your friends so you can share the experience.
Are you also looking for other fun papercraft projects? Check out my events page and book in. There’s always something new to learn.