
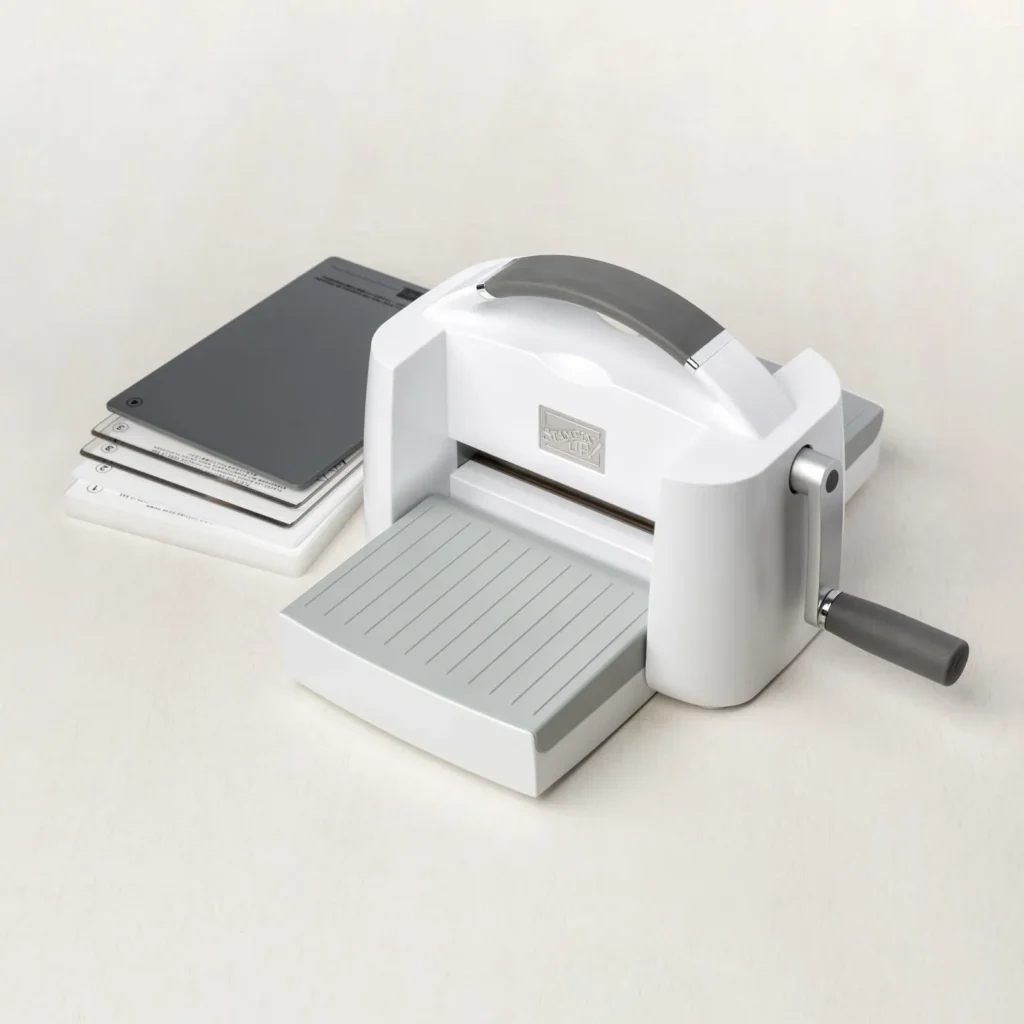
I was tidying up my studio in Oakleigh South yesterday and as I moved my Stampin’ Cut & Emboss Machine to wipe down the desk, I realised just how much work this poor thing has done lately. It really is the heavy lifter of my craft room.
If you have ever scrolled through the blog and wondered how I managed to get those tiny, intricate details on my projects, I will let you in on the secret: I definitely did not cut them all by hand! As much as I find a bit of fussy cutting with scissors therapeutic, some designs are just too fiddly for my patience levels.
I have used this machine to bring so many of my favourite projects to life. For example, it was essential for creating the beautiful botanical layers in my Eden’s Garden Inspiration post. It also helped me achieve the crisp, perfectly coordinated cut-outs for my Apple Card Inspiration. Whether it is a delicate butterfly from Butterfly Brilliance or structural elements for Cards Shaped Like Paper Houses, this machine delivers a professional finish every time.
Why It Is My Go-To
For me, the magic of this machine is how it completely changes the feel of a project in about ten seconds. It handles two main jobs: die cutting (using those metal shapes to cut out flowers, letters, or labels) and embossing (pressing a 3D pattern into the paper).
Having the machine means every structural element is identical and precise. It takes the “work” out of the process so I can spend more time on the fun part, like choosing colours and embellishing, and less time worrying if my lines are straight.
A Few Thoughts From My Desk
- The Fold and Go Factor: My desk can get pretty cluttered when I am in the middle of a creative whirlwind. I love that the platform sides fold up so I can tuck it out of the way when I need space to spread out my ink pads.
- No Guesswork: It comes with all the plates you need right in the box. I have lived through the era of trying to remember which shim goes with which folder, but the instructions are printed right on the plates. This is a lifesaver when my brain is focused on the design.
- Smooth as Butter: The cranking handle is sturdy and does not require a gym membership to turn. Even when I am batch-making handmade cards for a big swap, it is a really comfortable machine to use.
Want to Give It a Spin?
I know a machine like this is a bit of an investment and it is one of those things you really want to feel for yourself before committing.
If you are local to the Melbourne SE suburbs, I would love for you to come and have a go with mine! I always have the machines set up and ready during my card making workshops in Oakleigh South. Whether you are popping over from Bentleigh, Mulgrave, or Clayton, you are always welcome to join us. It is a great way to try out some new stamping techniques and see if die-cutting is something you would enjoy adding to your own hobby.
The Bits and Pieces
If you are curious about what I use, I have added the details below. You can order these from my online store.
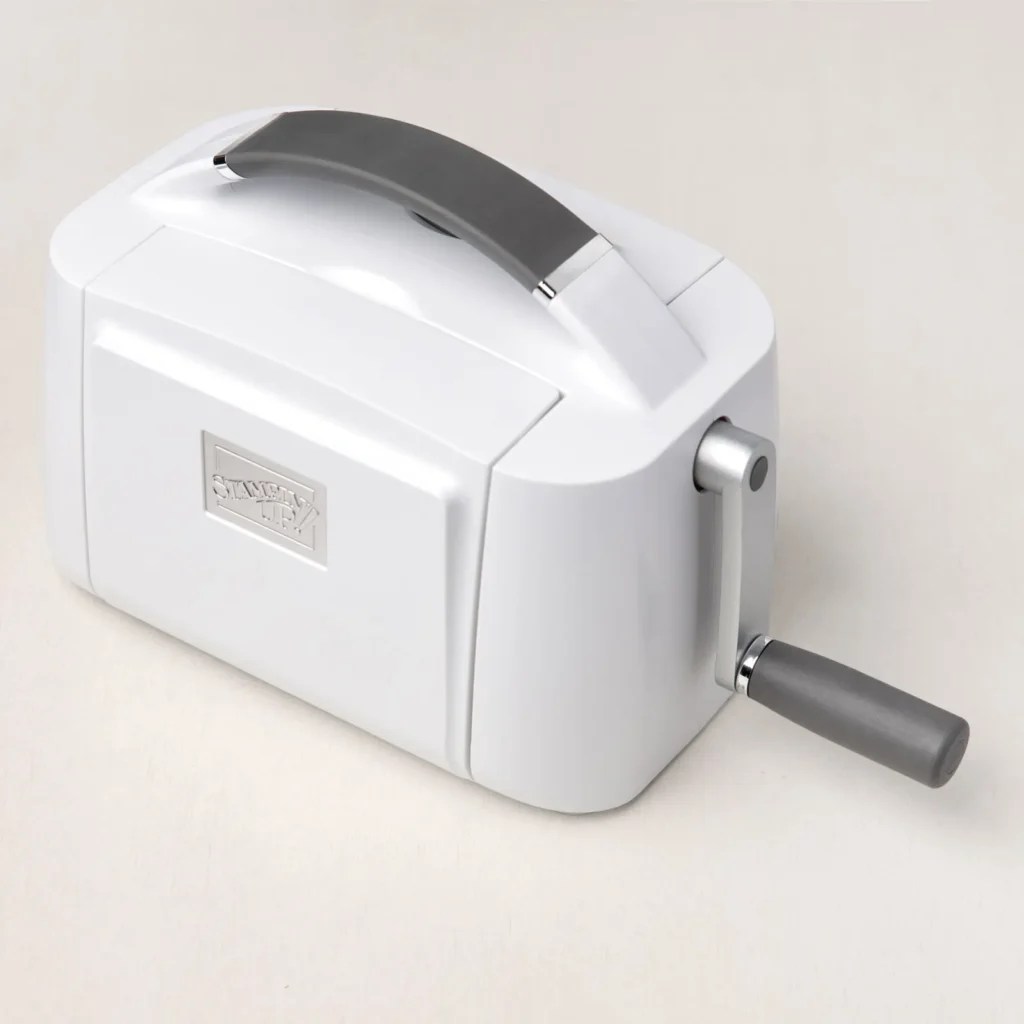
- Stampin’ Cut & Emboss Machine (Item #149653): The big one! It has a 15.2 cm wide platform which fits all my favourite large embossing folders.
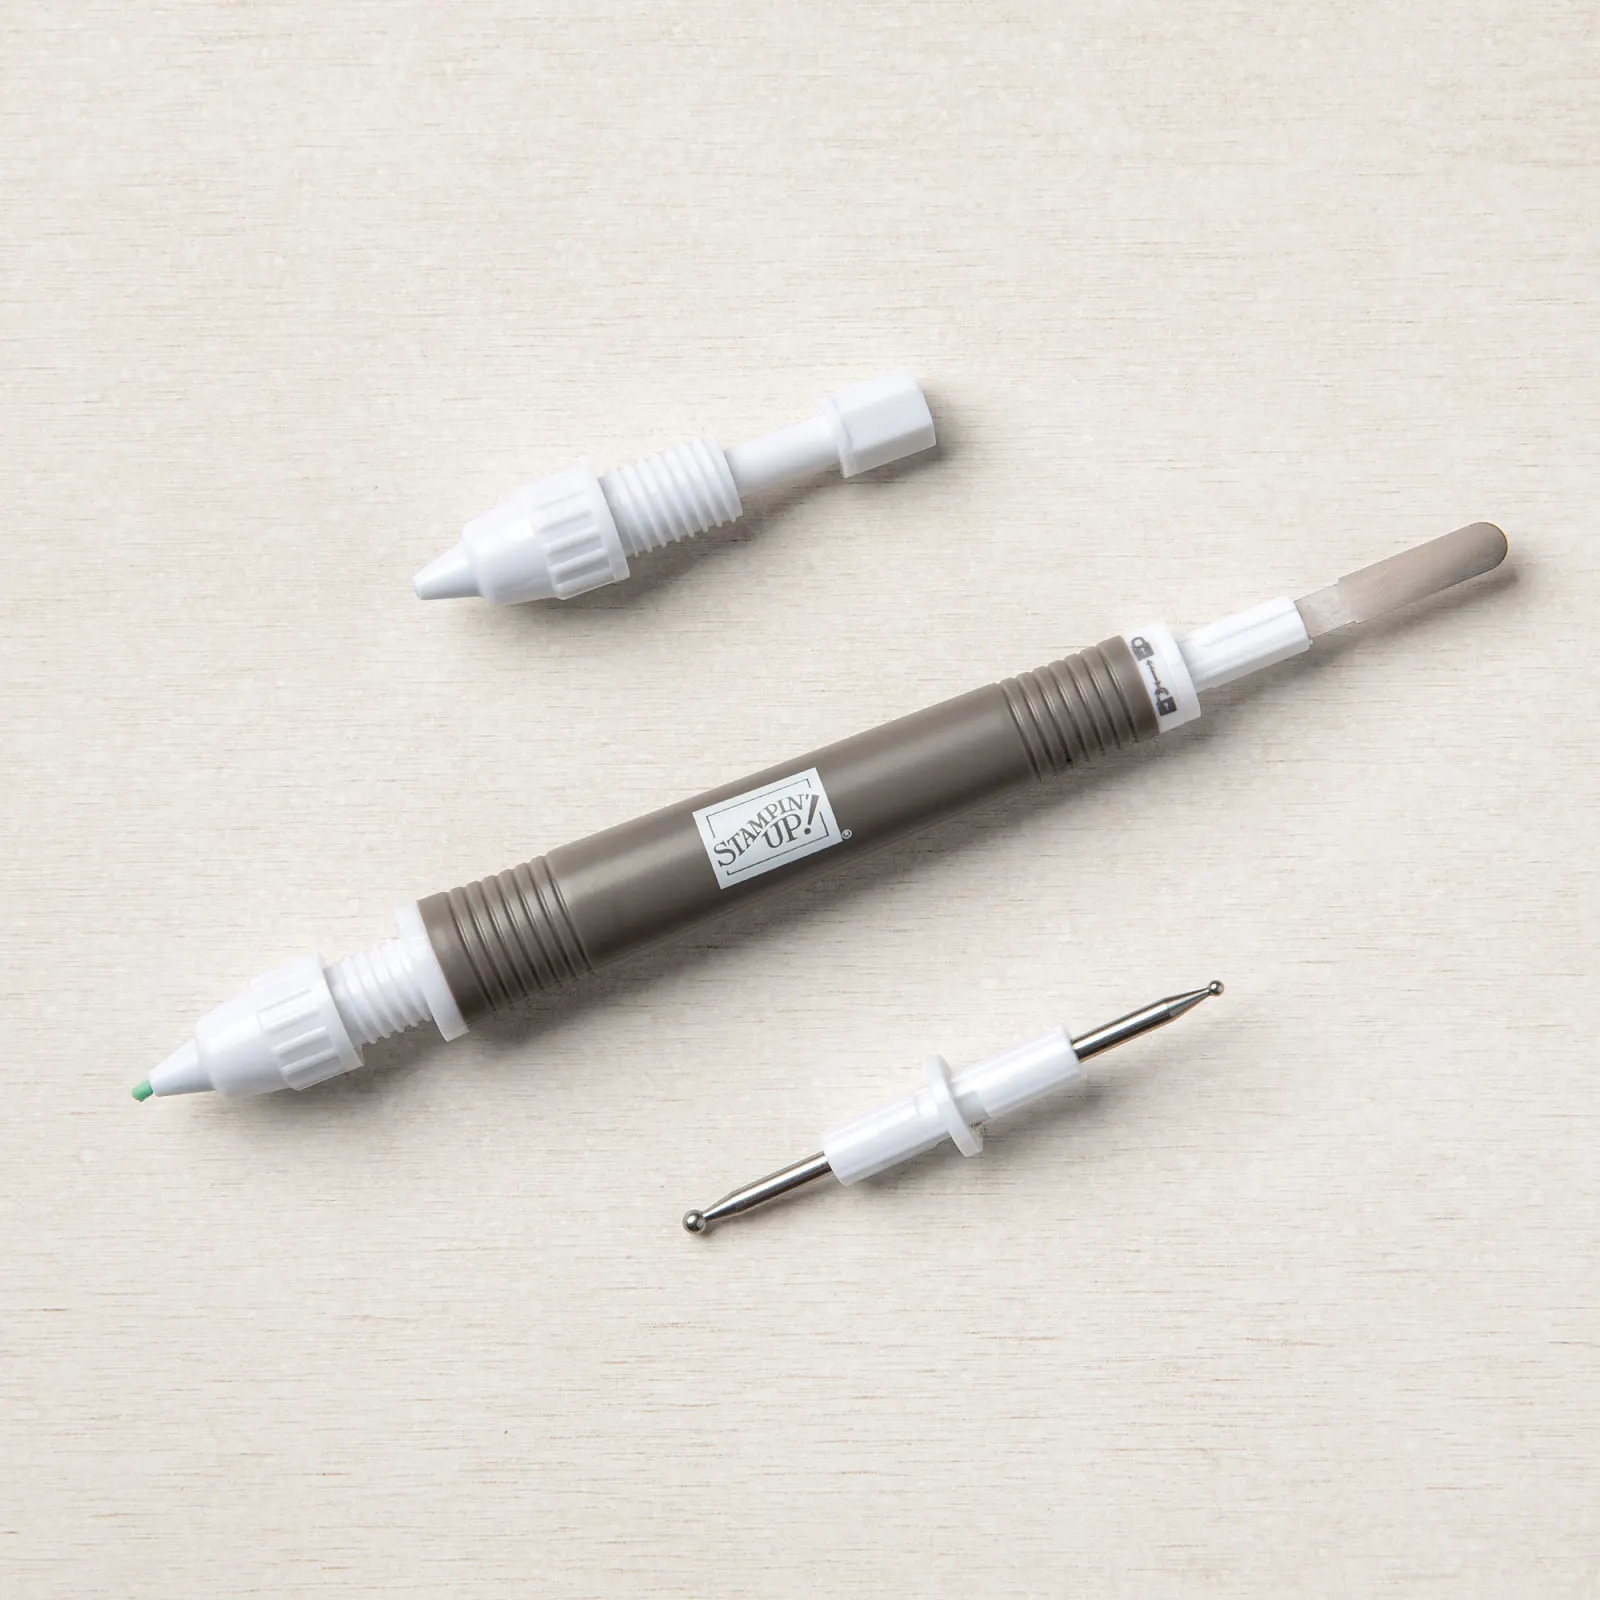
- Take Your Pick Die Brush Tip (Item #149655): I highly recommend this if you do a lot of detailed work. It saves so much time when you are trying to get those tiny paper bits out of the dies.
I will be running a few craft classes soon where we will be putting these through their paces. If you would like to try this with me, keep an eye on the class schedule!
I am curious, do you prefer the look of a perfectly cut-out shape, or are you like me and a bit obsessed with the tactile, 3D texture of an embossed background? I would love to hear which technique is your favourite!
Leave a Reply